
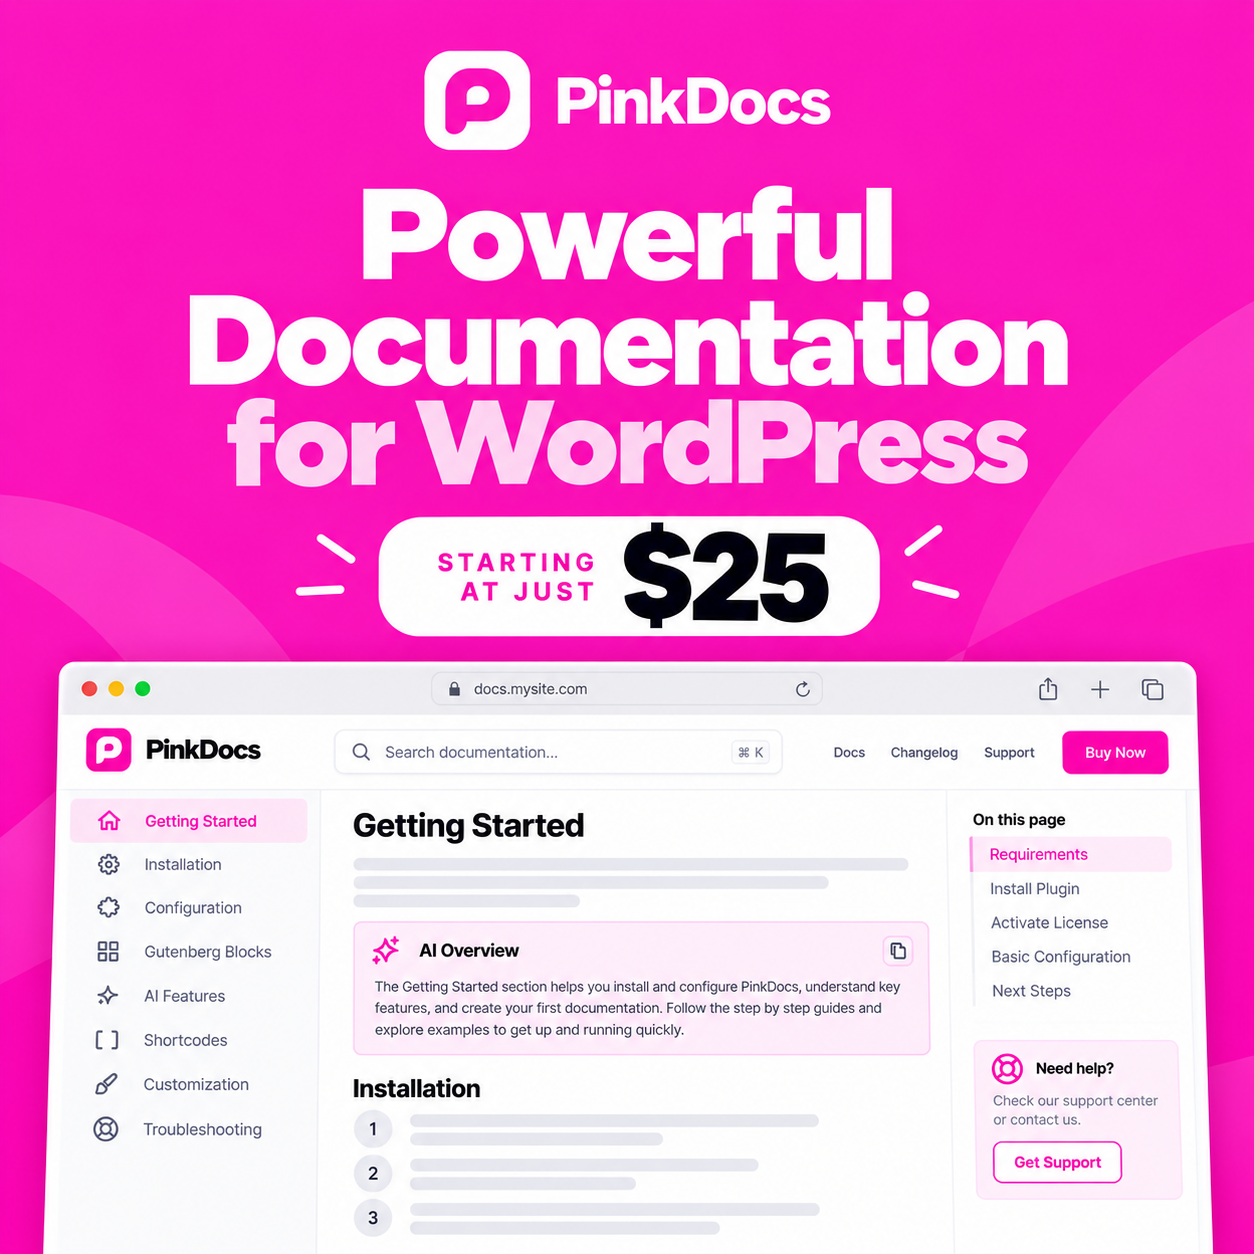

TOC widgets let you add your own content beside every doc: a short message, a list of links, a call-to-action button or an image. They sit in the right-hand column, above or below On this page (the table of contents), so readers see them while they read.
Turn on TOC widgets
Open the reading settings
In your WordPress admin, go to PinkDocs → Settings → General and scroll to Reading experience.
Turn on TOC widgets
Switch on TOC widgets. The widget options open underneath.
Choose the position
Pick Above the TOC or Below the TOC. The section Choose where widgets appear below explains when to use each.
Add your widgets
Click Add widget, choose a type and fill in its fields. Add as many as you need (up to 10 PinkDocs widgets) and use the arrows to change their order.
Save
Click Save settings. Open any doc to see your widgets beside the table of contents.
Widget types
Each PinkDocs widget has an optional title, shown in the same style as the On this page heading.
| Type | Use it for | What you fill in |
|---|---|---|
| Text | A short message, such as support hours or a tip | Text, with optional links and bold |
| Links | Quick links to popular docs or pages | One link per line: the label, a vertical bar, then the address |
| Button | One clear call to action, such as Contact support | Text above the button, button label and link |
| Image | A banner, a product screenshot or a promotion | Image from the Media Library or a URL, and an optional link |
Format text and links
In a Text widget, write links as [label](URL) and make words bold with **double asterisks**. Leave an empty line to start a new paragraph.
In a Links widget, put one link per line with a vertical bar between the label and the address. Links inside your site can start with a slash.
Choose where widgets appear
Widgets show first, before On this page. Choose this for things you want every reader to notice, such as an announcement, a promotion or a button to contact support.
Widgets show after the table of contents and the share buttons. Choose this for extra help that shouldn't push the table of contents down, such as related links or a newsletter sign-up.
Manage widgets in Appearance → Widgets
TOC widgets are a normal WordPress widget area called PinkDocs: TOC widgets. PinkDocs settings and Appearance → Widgets show the same widgets and stay in sync: add, edit or reorder a widget in one place and it changes in the other.
Use Appearance → Widgets when you want something PinkDocs widgets don't offer, such as a newsletter form, a search box or a widget from another plugin. These widgets also appear in PinkDocs settings, where you can reorder or remove them. Click Edit in Appearance to change them.
Tips
- Keep it short: two or three widgets are easier to scan than ten.
- Use one Button widget for your main call to action, not several.
- Give widgets clear titles such as Need help? or Popular guides.
- Use images that are at least 600 pixels wide so they stay sharp.
Common questions
Not yet. The widgets are shared, but you can turn the TOC widgets switch off for any knowledge base.
PinkDocs widgets are deleted. Widgets added in Appearance → Widgets are moved to Inactive widgets, so you can add them back later.
Yes. Add it in Appearance → Widgets to the PinkDocs: TOC widgets area. It shows with your other TOC widgets.
Check that TOC widgets is switched on for that knowledge base, that you saved your settings, and that you're viewing the doc on a wide screen. If you use a caching plugin, PinkDocs clears the cache when you save, but your browser may still show an old copy, so reload the page.